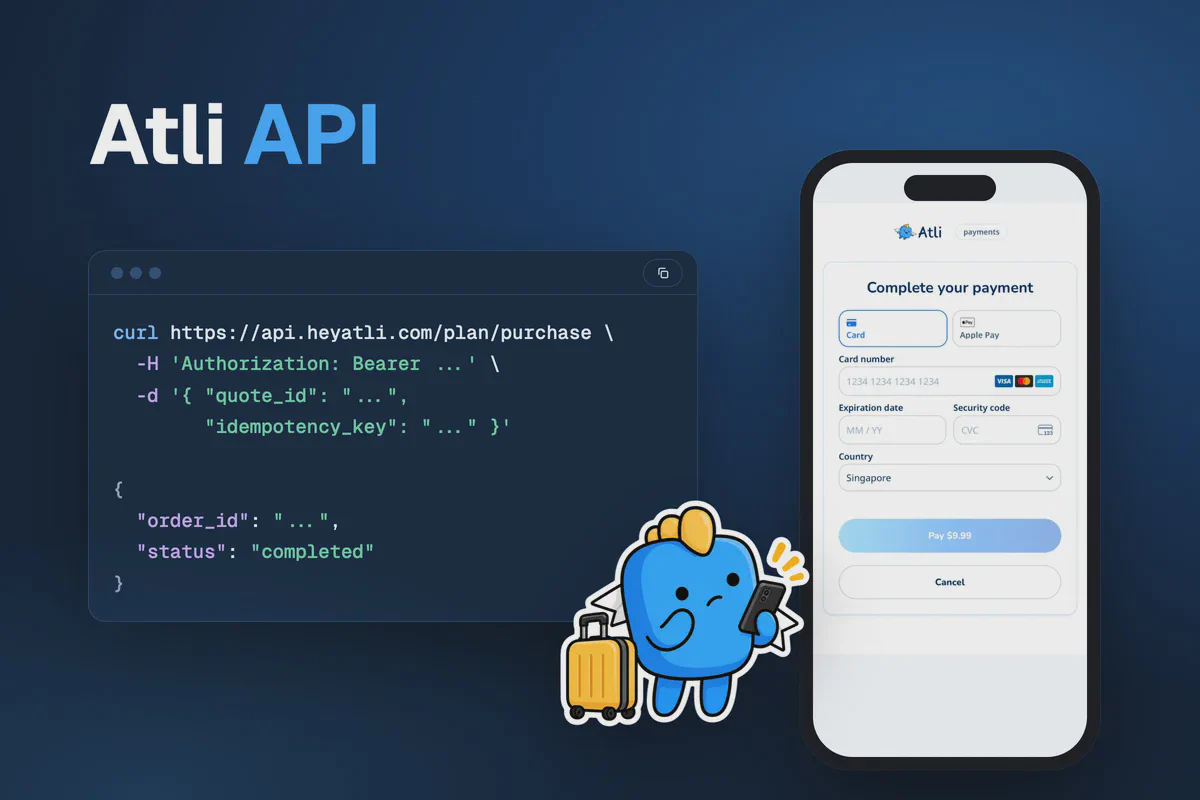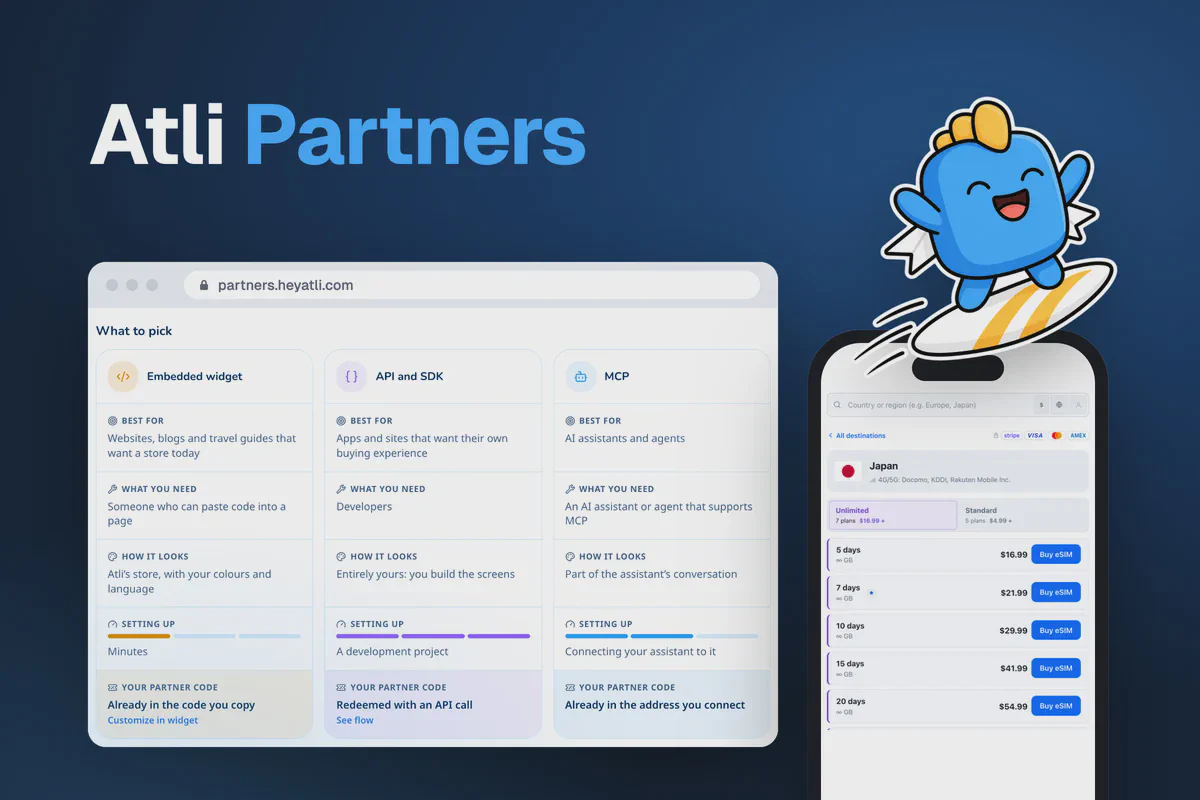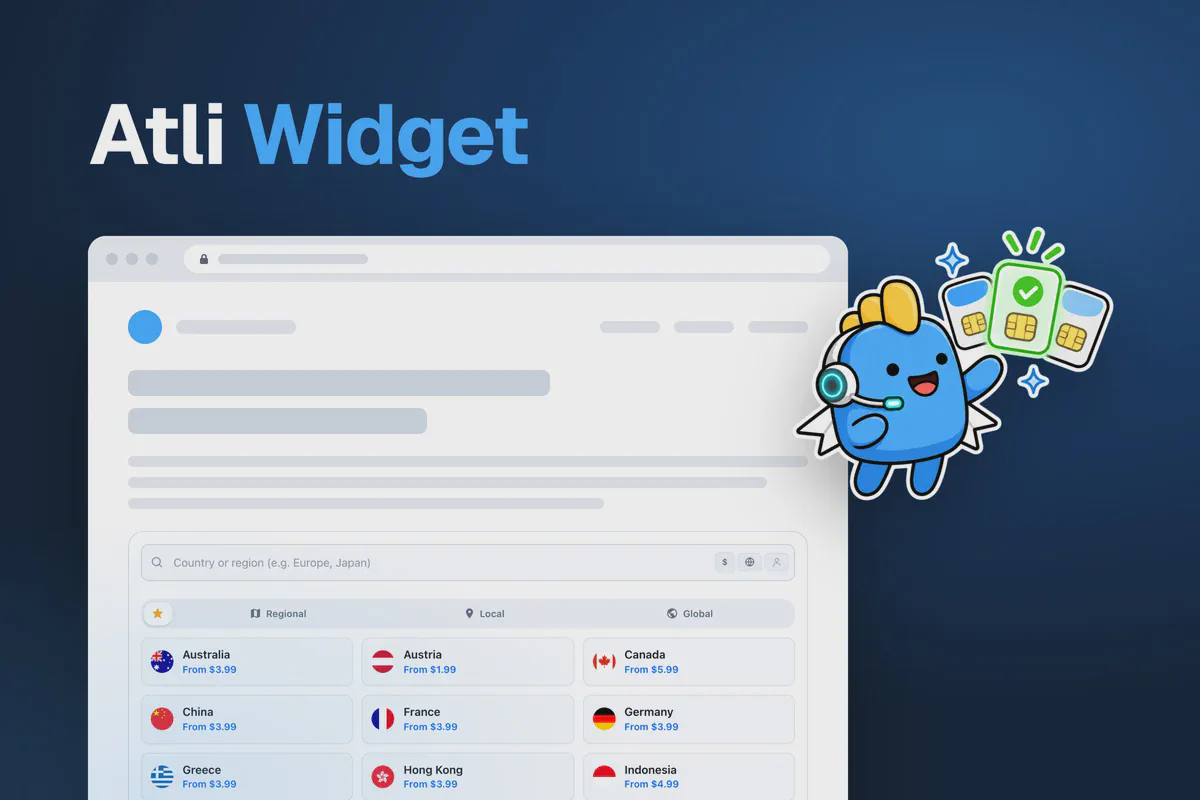
The Atli widget lets you add a complete travel eSIM store to your website with a single script tag. Visitors can search for destinations, compare plans, make payments and receive their eSIM QR codes without leaving your page. Your partner code is included in the script to attribute eligible purchases to your account.
It costs nothing to embed and needs no build step. Atli runs the catalogue, the payment and the eSIM delivery. Installation requires just one container and one script tag.
This page runs the real widget:
Adding the widget to a page
Sign in at partners.heyatli.com and open Integrations. The Embedded widget card shows the code for your site with your partner code in it. Customize opens the widget builder at partners.heyatli.com/dev/atli-widget, where you can change every setting and copy the code again.
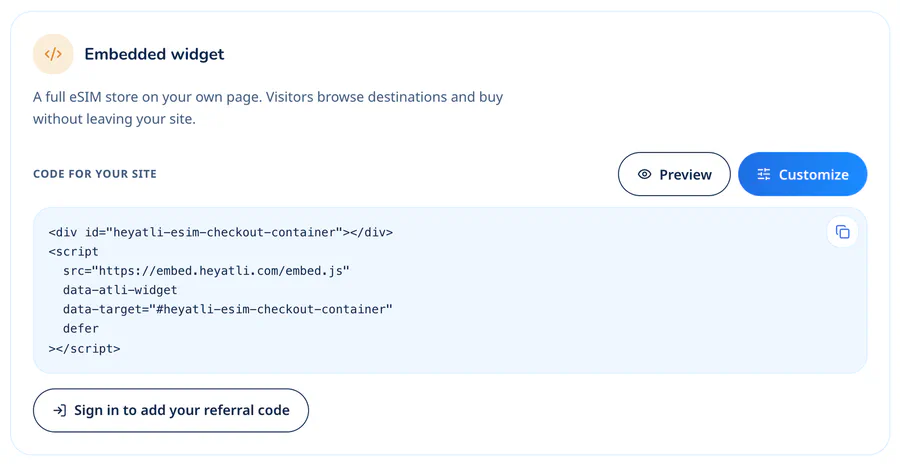
If you prefer to add the code directly, replace YOUR_CODE with your partner code:
<div id="heyatli-esim-checkout-container"></div>
<script
  src="https://embed.heyatli.com/embed.js"
  data-atli-widget
  data-target="#heyatli-esim-checkout-container"
  data-referral="YOUR_CODE"
  defer
></script>
Paste it into your page’s HTML where the store should appear. The widget takes the full width of its container and grows to the height of whatever it is showing. There is no height to set. Leave out the <div> and data-target and it appears straight after the script tag.
The script is about 17 KB and needs nothing else installed. It loads the store in a frame from embed.heyatli.com, and that frame can’t read your page, its cookies or its storage. Card details go into Stripe’s payment form inside the frame.
Opening on one destination
For country-specific pages, you can configure the widget to display plans for that destination. This version opens on Japan for a German-language guide and shows prices in euros:
<div id="japan-esim"></div>
<script
  src="https://embed.heyatli.com/embed.js"
  data-atli-widget
  data-target="#japan-esim"
  data-referral="YOUR_CODE"
  data-destination="jp"
  data-lang="de"
  data-lang-priority="widget"
  data-currency="EUR"
  defer
></script>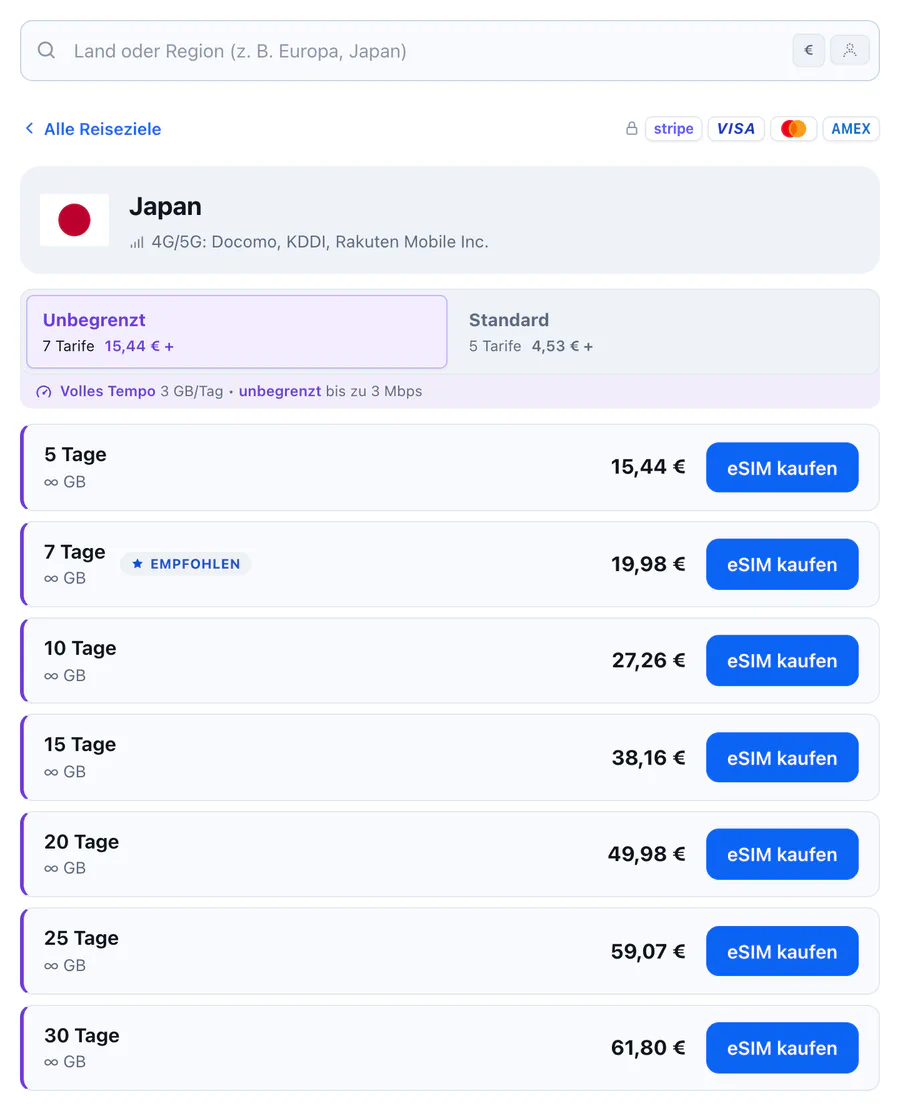
data-destination takes a two-letter country code (jp), a country name in any of the widget’s languages (Japan, 日本), a region (europe, south_east_asia) or a plan ID. A plan ID opens that plan’s checkout. The widget opens a destination only when it finds a valid match. Otherwise, it displays the default home screen. Visitors can still search every destination either way.
data-favorites fills the Top tab with up to 32 destinations of your own and keeps them in the order you list them. For example: data-favorites="jp, kr, tw, asia".
Widget settings
Every setting is optional. In the script tag each one is a data- attribute. In JavaScript it is the same name in camelCase: data-lang-priority becomes langPriority.
| Attribute | What it does |
|---|---|
data-referral | Your partner code. New customers who buy are linked to you. |
data-destination | Opens on one destination or plan. |
data-favorites | Up to 32 destinations for the Top tab, comma-separated. |
data-lang | The widget’s language. Without it, the visitor’s browser language. |
data-lang-priority | widget keeps your language even if the visitor picked another, and hides the language menu. |
data-currency | The currency for prices and payment. USD by default. |
data-currency-priority | widget keeps your currency even if the visitor picked another. |
data-theme | light or dark. Without it, the visitor’s device setting. |
data-theme-priority | widget keeps your theme and hides the theme setting. |
data-css | The https:// address of your own stylesheet for the widget. |
data-boot | Opens on one of the visitor’s own screens: esims, credits, vouchers, refer, settings, payment-methods, groups or profile. esim opens a shared eSIM’s install page with no account needed, for the eSIM whose code you give in data-lpa. |
data-anonymous-cards | true lets visitors who are not signed in save a card in this browser. Off by default. |
data-stripe-link | false takes Stripe Link out of the payment form. |
data-analytics | off stops the widget loading its own analytics. |
data-consent | all, analytics or none, to match what your cookie banner collected. |
data-env | staging runs the widget on Atli’s Sandbox. Leave it out on a live page. |
The widget supports 15 languages: en English, pt Portuguese, es Spanish, fr French, it Italian, de German, pl Polish, ru Russian, zh Chinese, ko Korean, ja Japanese, id Indonesian, vi Vietnamese, ms Malay and ar Arabic. It prices in AUD, CAD, EUR, GBP, HKD, JPY, KRW, SGD, TWD, USD and VND. Unsupported values are ignored. For example, data-currency="EUROS" defaults to USD.
Adding the widget to a single-page app
The script tag initializes the widget when the page loads, but it doesn’t automatically respond to changes in your application’s routing. In React, Vue, Next.js or any app that changes pages without a reload, load the script once in your HTML and mount the widget from your code:
<script src="https://embed.heyatli.com/embed.js"></script>const widget = HeyAtli.init({
target: '#esim',
referral: 'YOUR_CODE',
destination: 'jp',
lang: 'de',
currency: 'EUR',
});
// Change settings later without rebuilding the frame
widget.update({ destination: 'th' });
// Remove it when the page goes away
widget.destroy();target takes a CSS selector or an element. update() merges what you pass into the current settings and doesn’t reload the frame. In React the widget fits in an effect:
import { useEffect, useRef } from 'react';

export function EsimStore({ destination }) {
  const ref = useRef(null);

  useEffect(() => {
    const widget = window.HeyAtli.init({
      target: ref.current,
      referral: 'YOUR_CODE',
      destination,
    });
    return () => widget.destroy();
  }, [destination]);

  return <div ref={ref} />;
}
In development, React’s Strict Mode runs every effect, cleans it up and runs it again. Include destroy() in the cleanup function to prevent duplicate widget instances.
Styling the widget with CSS
Give data-css the full https:// address of a stylesheet on your site. The widget loads it inside its frame after its own styles, so plain selectors win without !important. If the file fails to load, the widget keeps its default look.
One line is out of reach. Every screen ends in a Powered by Atli | Support footer that your stylesheet can’t restyle or hide. A stylesheet that hides, fades, clips or covers it is dropped, the widget goes back to its default look for the rest of the visit, and the browser console says why.
Start with the widget’s CSS variables. Visitors can see either the light or the dark theme. Set the variables for both:
.atli-widget {
  --atli-font-family: 'Inter', system-ui, sans-serif;
  --atli-color-accent: #0f766e;
  --atli-color-accent-hover: #115e59;
  --atli-color-accent-text: #ffffff;
  --atli-radius-md: 6px;
}

.atli-widget[data-theme='dark'] {
  --atli-color-accent: #2dd4bf;
  --atli-color-accent-hover: #5eead4;
  --atli-color-accent-text: #042f2e;
}
sunset.css and mono.css are worked examples that cover every common variable with comments. The card fields sit in Stripe’s own frame, where no stylesheet can reach. When the widget builds the payment form, it hands Stripe your accent, text and surface colours, your font and your corner radius instead.
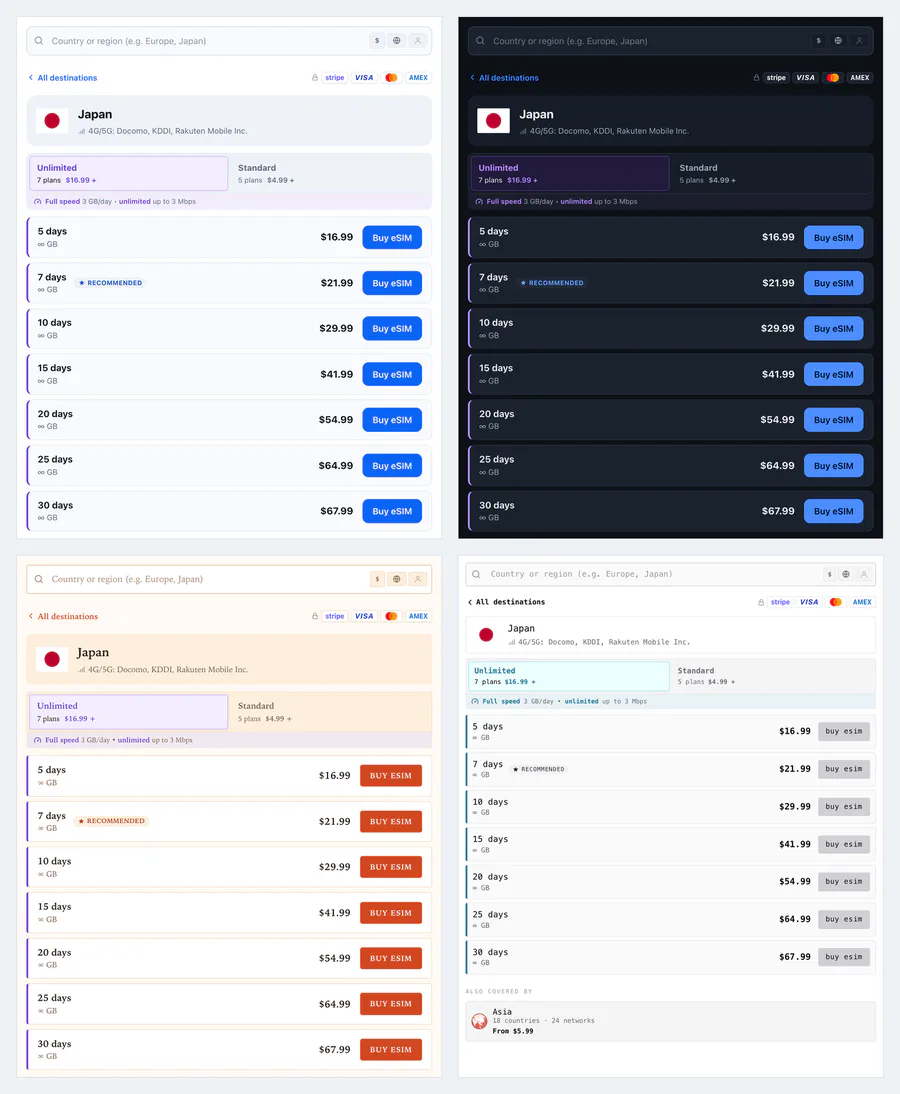
CSS customization lets you match the widget to your website’s branding. For complete control over the interface, use the Atli API, which requires additional development.
Tracking purchases with widget events
The widget emits events that your website can use to track visitor activity and purchases. To send purchases to your analytics, mount it with HeyAtli.init() and listen for purchase.completed. This handler hands each purchase to Google Tag Manager in GA4’s ecommerce format:
const widget = HeyAtli.init({ target: '#esim', referral: 'YOUR_CODE' });

widget.on('purchase.completed', function (detail) {
  window.dataLayer = window.dataLayer || [];
  window.dataLayer.push({ ecommerce: null });
  window.dataLayer.push({
    event: 'purchase',
    ecommerce: {
      transaction_id: detail.transactionId,
      value: detail.value,
      currency: detail.currency,
      items: detail.items,
    },
  });
});
items arrives in GA4’s item format, so it goes into the dataLayer unchanged. value is in the currency’s main unit and reads 12.99 rather than 1299. The first push clears the previous ecommerce object, which Google recommends before every ecommerce event.
Other events include checkout.opened, payment.started and payment.failed. A handler gets (detail, info), and info.action names the event, so widget.on('*', handler) can forward all of them. To log every event in the browser console, add debug: true to init() or data-debug="true" to the script tag.
Events reach only domains on Atli’s allowlist. heyatli.com and localhost are on it, so you can build on your own machine. That is also why a handler that works on localhost can stop hearing events on your live site. Ask [email protected] to add your domain. The widget can still process purchases even if event tracking is unavailable.
Testing in Sandbox
Add data-env="staging", or env: 'staging' in HeyAtli.init(), to run the widget on Atli’s Sandbox. A Sandbox tag shows in the corner, and your partner code appears faintly in the test banner so you can check the page picked it up. Pay with Stripe’s test card 4242 4242 4242 4242, any future expiry date and any security code. Sandbox accounts are separate from real ones. Sandbox eSIMs come from a test carrier, so they can’t be installed on a phone, and Sandbox sales never earn commission.
The widget uses the production environment by default. Remove data-env="staging" before publishing, as Sandbox only accepts test payments.
How widget sales are credited
A visitor who buys in the widget is linked to you when they sign in or pay, unless another partner’s code or an earlier purchase came first. The widget remembers your code in the visitor’s browser for 72 hours, so someone who comes back the next day still counts. After that first purchase the link is permanent, and later purchases on the same Atli account count for you too.
Prices are the same as in the Atli store, and a discount on your code shows at checkout. How the Atli affiliate program pays covers earnings and payouts.
FAQ
Does the Atli widget cost anything?
Do I need my own Stripe account?
Can visitors install the eSIM from the widget?
Can I limit the widget to the countries I write about?
data-destination opens it on one destination, and data-favorites fills the Top tab with up to 32 of your own. Visitors can still search the full catalogue.Will the widget slow my page down?
Can I put two widgets on one page?
HeyAtli.init() once for each container.